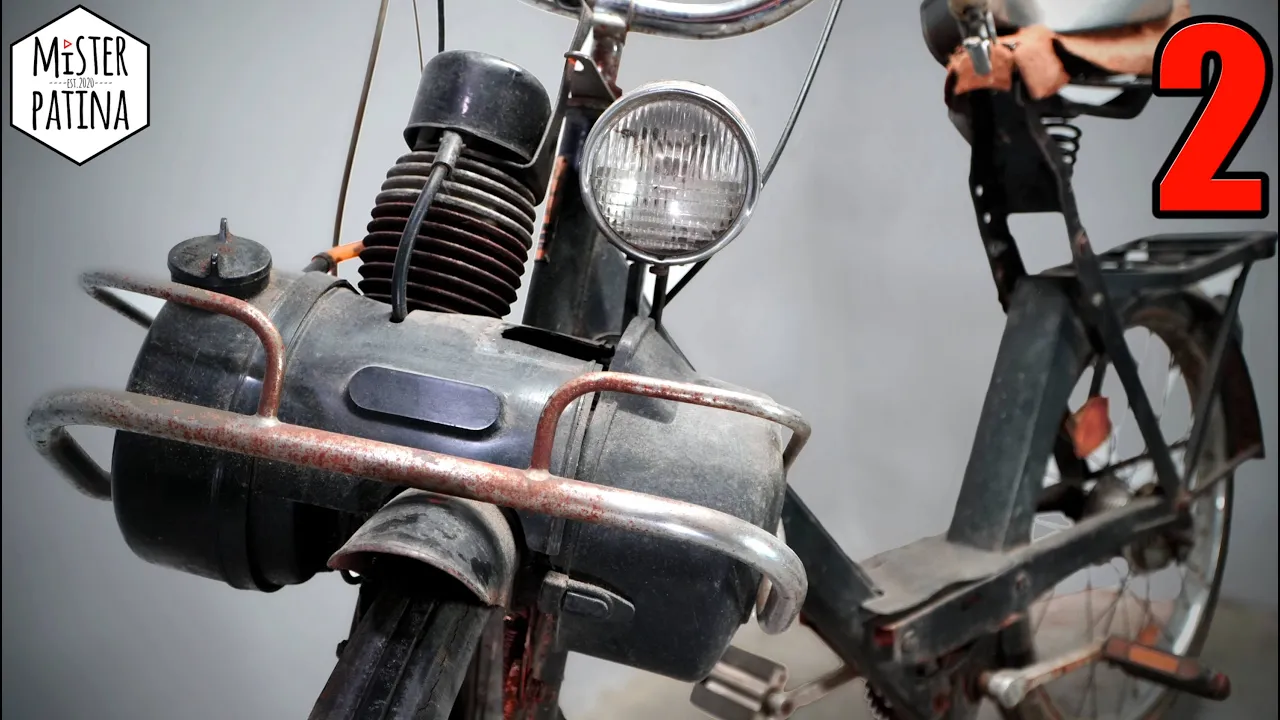
55 year old 'Solex' Moped - Restoration | Part 2 of 2
 Mister Patina
Mar 28, 2025 08:00
Create an account to hide videos, mark them watched, or save them to Don't Miss.
Create an account to hide videos, mark them watched, or save them to Don't Miss.
Create an account to hide videos, mark them watched, or save them to Don't Miss.
► Support my work, see Daily Vlogs and get early access to Director's Cuts:
https://www.patreon.com/misterpatina
I got me a new 'Creality Falcon A1' - a new Entry-Level Lasercutter/-engraver that is just around 500$!
► Out of the box, no assembly needed
► 10W Laser Module - up to 600mm/s
► Free 'Falcon Design Space' software for operation
Get yours here and use coupon 'AFFA130' for 30$ discount:
US Store: http://shrsl.com/4v8pg
EU Store: https://shrsl.com/4v8ph
UK Store: https://shrsl.com/4v8pl
AU Store: https://shrsl.com/4v8pm
DE Store: https://shrsl.com/4v8pj
CA Store: https://shrsl.com/4v8pn
► Follow me on Facebook:
https://www.facebook.com/MisterPatina
► Follow me on Instagram:
Instagram: https://www.instagram.com/misterpatina
In this Video I restored an old 'Solex' or 'VeloSolex' Moped. Theyre known as the first E-Bikes - a bike with a support engine.
In this video, I'll take you on a journey through the restoration of a Solex, a true classic of the 70s. From the first step of the repair to the final test drive, I'll show you how I brought this vintage moped project to life.
First, I repaired the plastic parts, which had suffered considerable wear and tear over the years. I cut, lasered, welded, filled, and repainted the parts! Now they shine like new again.
In the next step, I re-chromed the metal parts using pin electroplating to preserve the Solex's typical retro look. The glossy surface adds the finishing touch to the restoration.
I made the new wooden handlebar grips myself on the lathe. Special attention was paid to ensuring they fit perfectly into the overall look, both functionally and visually.
For the footrest, I used a particularly cool process – a laser cutter to cut the wooden parts. The result is a precisely crafted footrest that adds even more character to the Solex.
Finally, it was time to assemble the Solex. After all the parts were restored and machined, it was time to put the whole thing together and bring the Solex to life.
Finally, there's a test drive to see how well the Solex runs after the restoration.
It was an exciting project, and I'm excited to show you the Solex's transformation!
In the end i'll have the engine tested and it runs like a charm! :-)
► If you like my work, hit the like, subscribe and share with your friends!
► Any questions to the materials, techniques, or something else? Write in the comments!
► Feel free to write ideas for future Projects in the comments!
Thanks you fine people! ♥
Abandoned 'Solex' Moped - Restoration | Part 2 of 2
#restoration #bikerestoration #solex #solexrestoration #mopedrestoration #perfectrestoration
Entertainment
#mister patina
#restoration
#restauration
#restore
#restoration videos
#repair
#forging
#restoring
#tool restoration
#asmr
#asmr videos
#diy
#how to
#crafts
#craftsman
#perfect restoration
#rusty restoration
#sandblasting
#lathe machine
#Solex Restoration
#Moped Restoration
#bike restoration
#engine restoration
#engine overhauling
#Abandoned 'Solex' Moped - Restoration | Part 2 of 2
#solex repair
#welding plastic
#how to chrome parts
#chroming diy
#rechroming parts
#how to remove chrome